

Why Does Screen Printing Ink Peel Off PET Film? Causes, Tests, and Fixes
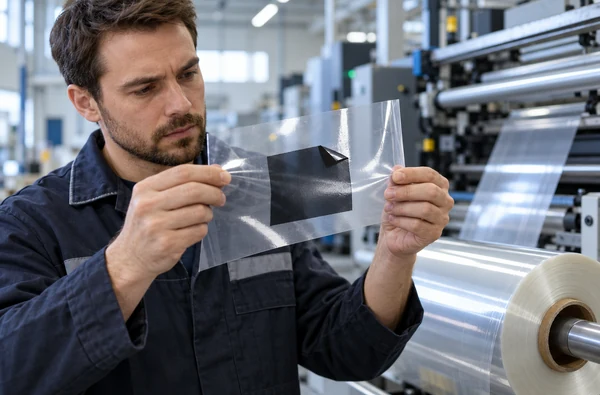
Screen printing ink can peel from PET film because the wrong face of the film was printed, the surface was not receptive to that ink, the ink was unsuitable for the film, or the printed layer was not cured as specified. The failure may also appear only after rewinding, die cutting, lamination or bending. Find the layer that separated before changing a press setting. A tape test on a fresh, flat sample will not explain every failure in a finished roll.
Set aside three samples: unprinted film, a fresh print and material from the step where peeling appeared. Record the film grade and lot, printable side, ink and batch, screen, UV source, line setting, and the time between printing and testing. Compare samples under the same test conditions. Here the ink is supposed to stay on PET used for labels or printed films. A deliberately releasable transfer carrier needs a different acceptance test.
First, find out what actually peeled
The word adhesion can hide several different faults. Look at both the PET and the material that came away on the tape or finished part. Did the whole print lift cleanly from the film? Did color remain on the PET while a clear coat detached? Did the coating break within itself? If a laminated structure failed, identify whether the separation occurred at the ink, adhesive or film interface. Keep the peeled surfaces for the ink and film suppliers to examine.
| What you see | First question to investigate | Useful comparison |
|---|---|---|
| The whole ink image lifts from apparently clean PET | Was the specified printable face used, and is this ink approved for that face? | Print the documented face of a known-good roll with the same ink and cure route. |
| Only a white, metallic or heavy solid area fails | Is that deposit thicker than the cure window supports? | Compare a supplier-approved lower deposit or screen with the original, at measured UV conditions. |
| Color stays but a varnish or second layer comes away | Are the two layers compatible, and what was the cure condition of the first? | Test each layer separately and the full stack under the ink supplier’s sequence. |
| The fresh print passes but a stored roll blocks or transfers | What touches the printed surface in the reel, and when was it tested? | Inspect samples before rewinding and after the planned winding pressure and hold. |
| Peeling starts at a die cut, fold or laminate | Is the failure caused by conversion or by an already weak print? | Compare unconverted web, converted parts and the approved finished-product test. |
Use the table to decide what to test next. Siegwerk’s UV label troubleshooting guide describes tape and cross-cut checks, and separates poor substrate adhesion from intercoat problems. Its advice covers the ink systems and processes in that guide; ask your ink supplier for the method and acceptance limit for this job.
Confirm the PET grade and the printable side
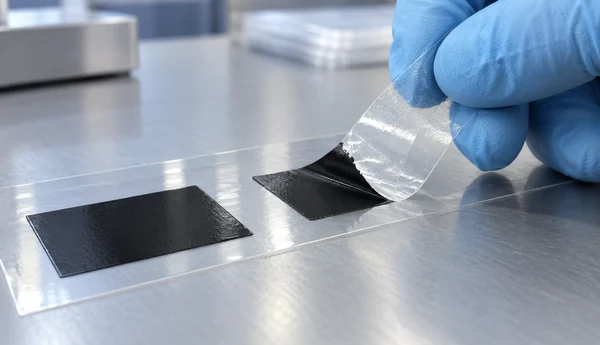
“PET film” is not a surface specification. A roll can have a primer on one side, a barrier or release coating on the other, or a coating selected for a different printing chemistry. Even films that look alike can need different inks. Toray’s PA1HB film record, for example, identifies different functions for its barrier-coating side and its adhesion layer. It is an example of why side identification matters, not a recommendation to screen print that particular grade.
Ask the film supplier for the exact product code, surface construction, printable face, treatment or primer description, and the ink types the film maker has evaluated. Mark the printable face on the job ticket and retain the roll label. If the material has a removable liner, check which surface the liner protects and when it should be removed.
Primer chemistry can determine which ink family works. MacDermid Alpha’s Autoflex EB data sheet distinguishes a primer intended for solvent-based screen inks from another designed for a wider range that includes UV-curable screen inks. The film’s PET base alone does not tell you which of those surfaces is in your press. Obtain written compatibility advice for the named film, primer and ink, then test the production lot.
For PET label stock, record the facestock, topcoat, adhesive and liner as a construction. The adhesive and liner may not touch the ink during printing, but they affect winding and the finished label. For a free PET web, note which face touches the rollers and which faces the next wrap in the reel.
Measure surface condition, then prove adhesion
Surface treatment can improve wetting, but a dyne reading is a screening measurement. It does not prove that an ink will bond after curing and conversion. Enercon’s treatment guide notes that readings can change during storage and that they represent a small part of a roll. Additives, handling contamination and the conditions between extrusion and printing also matter.
Check the specified face across the web and at more than one point in the roll using the method agreed with the film supplier. Note the test fluid or pen, date, operator and result. Do not apply a generic “PET must be above X dynes” rule to every ink and coated film. The required condition is set by the film and ink combination, then confirmed by an adhesion test.
If a stored roll differs from a fresh approved roll, ask the film supplier whether a controlled in-line treatment trial is appropriate. A primer or functional coating may have its own processing limits; extra corona treatment should not be assumed safe for it. Change one condition at a time and compare samples after the same ink, print deposit, cure and test interval. If treatment improves wetting but the ink still peels, continue the investigation. The ink formulation or cure may be the cause.
Keep the web path clean. Fingerprints, oil, dust, silicone-bearing cleaners or transfer from another material can create local failures. A patchy defect that follows a roll edge or roller contact point deserves a different investigation from uniform failure across every print. Vetaphone’s web-cleaning guidance explains why contamination before surface treatment can undermine the result.
Match the ink and its deposit to the job
Get the current technical sheet for the exact ink series, color and additives. Have the ink maker confirm the PET grade or topcoat, the printing method, intended end use, and the proposed curing equipment. “UV ink suitable for PET” is too broad when the film may be coated and the UV system may be a conventional lamp or LED unit. A thinner ink film is not automatically an acceptable fix if the design needs opacity or a specified functional deposit.
Screen mesh, stencil and print settings determine the amount of ink left on the web. A dense white, metallic ink or large solid can be harder to cure through its depth than a fine, transparent image. Siegwerk’s guide identifies excessive ink deposit, especially opaque white and metallic areas, among causes to check in UV label printing. Use its figures only for the ink systems it covers. For your job, record the deposit or the supplier-approved method for controlling it, then test the heaviest area of the actual artwork.
If the print contains an underwhite, color and clear finish, test each interface. A failure between two inks does not have the same remedy as ink lifting from PET. Ask the suppliers to approve the layer sequence, intermediate cure and any additive. Do not put a generic adhesion promoter into the press without an ink-specific instruction; an additive can affect overprinting, flexibility or later finishing.
Check UV cure at the printed web
A UV lamp’s presence does not establish a cured ink film. The relevant questions are whether the emitted wavelength suits the ink, how much irradiance reaches the printed surface, and how much energy that surface receives at the chosen line setting. Lamp-to-web distance, lamp condition, the UV window and heavy pigment coverage can change the result. GEW’s UV curing science guide explains the roles of wavelength, irradiance and energy density, including the effect of line speed on exposure.
Ask the ink and UV-equipment suppliers for the required process window and a measurement method. Record the lamp type, wavelength or spectral specification, measured output at the web, line setting and print deposit. Check the center and edges if the defect varies across the roll. A slow trial can be useful, but lower speed cannot repair a wrong printable face or incompatible ink. It also cannot correct a wavelength mismatch simply by adding time.
Before raising lamp power, check the failed interface. Siegwerk describes poor bonding between layers after excessive curing in some UV label systems. If a white layer stays on the film but its topcoat peels, assess the intercoat route first. Where the ink uses a hot-air or solvent-evaporation route, specify the appropriate dryer and use the ink maker’s time and temperature guidance. Our UV curing versus hot-air drying guide explains the equipment difference.
Run a small, controlled troubleshooting trial
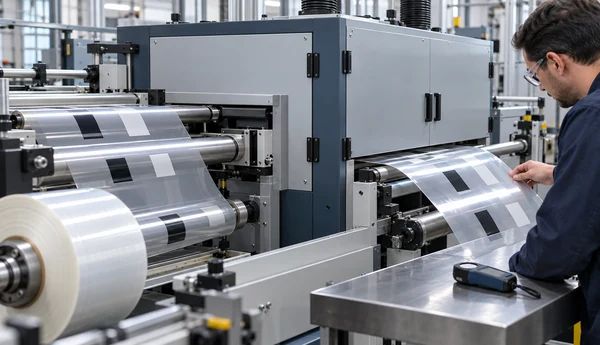
Start with the production failure as the baseline. Keep film, ink batch, screen, artwork and test method fixed. Make only one planned change in each comparison. The table is a diagnostic plan, not a set of recommended machine settings.
| Trial | Change from the failed baseline | What the comparison can tell you |
|---|---|---|
| A. Repeat baseline | None; reproduce the original job and collect samples at the point of failure. | Whether the problem is repeatable, and where it first appears. |
| B. Surface comparison | Use a supplier-approved printable PET face or known-good film lot; hold ink and cure constant. | Whether the result follows the film surface or lot. |
| C. Cure comparison | Use a measured, ink-supplier-approved cure setting; keep the film and deposit constant. | Whether the result changes inside the specified cure window. |
| D. Deposit comparison | Use the ink supplier’s approved screen or deposit adjustment; keep film and cure procedure fixed. | Whether the heaviest printed areas are exceeding the workable deposit. |
Do not combine all three changes and declare the press “fixed.” Such a sample gives no clue which change worked and is hard to reproduce on the next order. If a comparison improves the result, repeat it on production-width material and at the intended running speed. Include a stop and restart if the real job has them.
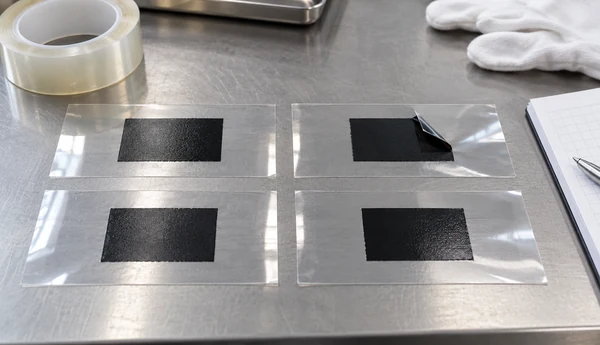
Agree on the adhesion method before testing. Siegwerk describes both a tape test and a more severe cross-cut version, but the chosen tape, application, pull, test timing and pass criterion must stay consistent within your trial. If the film stretches or the surface is textured, have the ink and film suppliers approve a suitable procedure. Inspect both faces after the pull. Record whether failure is at PET, within the ink, or at a later coating or adhesive.
Finally, rewind a representative length and process it as the customer will. Inspect for blocking, ink transfer, scuffing and loss of adhesion after the planned hold. If the product is die cut, folded or laminated, test after that step too. A print that passes on the open web may still fail at an edge or under reel pressure.
Where the screen printing machine matters
The machine has to repeat the agreed ink deposit, feed PET without damaging it, and provide a drying or curing route the ink supplier can approve. Collect samples before and after rewinding during its trial. The film, artwork and ink process determine which configuration to test; the model name cannot establish adhesion.
For a single-color roll-fed label job, Winshol’s WL-350D UV lists a 350 mm maximum web width, 330 × 450 mm maximum print area and a two-lamp UV dryer. Those are format and equipment descriptions. Ask for the lamp specification and trial the intended PET stock and ink. If the job needs multiple separately printed screen layers, the WL-350S has two printing stations and two UV units, but the complete layer sequence still needs approval.
For a wider packaging web, the WL-850D lists an LED UV unit and an 820 mm maximum web width. Its LED description is not proof that an ink formulated for another UV source will cure on that line. The flexible-packaging machine guide compares it with the WL-6090D and shows how the finished package changes the trial plan. If your chosen ink needs oven drying, discuss an oven-based configuration instead of assuming the UV equipment can evaporate its carrier.
Before requesting a remedy or a new machine, send the supplier the failed and accepted samples, film and ink technical sheets, artwork with the heaviest deposit marked, the test record and the point in production where peeling first appeared. Ask which proposed change is supported by a sample on your material. That is a more useful purchasing test than a generic claim of “strong adhesion.”
Frequently asked questions
1. Can screen printing ink adhere to untreated PET film?
Sometimes, if the exact ink is designed for that PET surface and the finished job passes its tests. Many PET products are coated or treated for particular inks; others are not. Check the film’s specified face and the ink maker’s application data. Do not infer compatibility from the word “PET” alone.
2. Is a good dyne reading enough to prove ink adhesion?
No. A dyne reading helps screen surface wetting at the point tested. It does not prove that the ink, primer, cure and subsequent converting steps will hold together. Run the agreed adhesion test on the actual printed construction.
3. Why does the ink pass a fresh tape test but peel after rewinding?
The print may encounter pressure, contact with the reverse side of the web, incomplete cure or later handling conditions that the fresh flat sample never experienced. Keep a sample before rewinding and another from the held roll. Compare them at the same test interval and inspect for blocking or print transfer.
4. Will increasing UV power fix peeling?
Only if insufficient cure is the cause and the new setting falls within the ink and film suppliers’ limits. A lamp change cannot correct an unsuitable PET surface or incompatible ink. Excessive curing can also create problems between printed layers in some systems.
5. Why does opaque white fail while a transparent color stays attached?
The white may leave a heavier or more light-blocking deposit. Measure the printed deposit and cure conditions, then compare a supplier-approved screen or ink adjustment. Also identify whether white lifts from PET or a later color lifts from the white.
6. Should I add a primer or corona treatment to every PET roll?
No. The answer depends on the film’s existing coating, its printable face and the selected ink. Have the film and ink suppliers approve any treatment or primer, then run a controlled comparison. Extra treatment is not a substitute for the right ink.
7. Which adhesion test should I use on screen-printed PET?
Use the method and pass limit agreed for your ink, film and finished product. A tape or cross-cut comparison can locate weak adhesion, but its tape, timing and handling must be consistent. Add the bend, die-cut, lamination or storage checks that the job actually faces.
8. Which Winshol screen printer should I use for PET film?
Start with the material format, artwork size, number of screen layers and the ink’s drying route. The WL-350D UV is a narrow-web, single-station label configuration; the WL-850D is a wider roll-fed configuration with LED UV listed. Neither is qualified for a specific PET and ink combination until the production-material trial passes.
Approve the print after the step where it will be used
Keep the failed print. Its peeled surfaces show where to start, and a controlled comparison shows whether a proposed change worked. Identify the PET face and coating, check the ink and deposit, measure cure at the web, and repeat the adhesion test after winding or converting. File the accepted sample with its settings so the next run starts from a known result.
Send Winshol your PET film, ink details and failed print samples if you need a screen printing configuration or a supervised material trial. Include the finished-product acceptance test so the proposed line can be judged on the result you will sell.