


How to Specify Registration Marks for CCD Screen Printing: Artwork and Sample Checklist
A CCD registration system uses a camera to align a new screen-printed layer to a visible mark or printed feature. Finding that reference is only the first check. For a useful trial, send preprinted production material and artwork that identifies the camera reference, the position of the new layer and the points where you will measure the finished print.
Mark size, color and registration tolerance depend on the material and the proposed machine setup. Confirm them with a trial on the stock you will actually run.
Start with the finished part
Begin with the feature the customer will inspect. The new layer may need to match a printed border, a cut outline or a circuit feature. Mark the measurement points on the drawing, including any that sit far from the camera reference. A print can look aligned beside the mark and still miss at the other end of the image.
The drawing needs to identify:
- The mark or printed feature the camera should find.
- The new image and the existing feature it must match.
- Where offset will be measured on the finished sample, in both feed and cross-feed directions.
Use those finished-part measurements to judge the trial. For a comparison of visual and physical positioning methods, see our CCD versus three-point registration guide.
Put the mark in an artwork brief
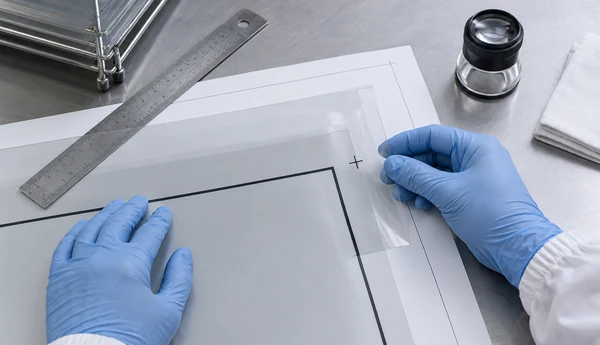
Send layered artwork and a dimensioned drawing. Show the proposed mark’s shape, size, color and position relative to the new image. Add a feed-direction arrow and label the printed side. For roll-fed work, include the roll width and repeat length, plus any cutting or finishing reference that must stay in register.
| Item to specify | What to send | Why it matters |
|---|---|---|
| Material | Production stock, thickness and surface finish | Camera contrast must be checked on the actual substrate. |
| Existing print | Samples from the preceding process, including normal variation | Printed edges may differ from the digital file. |
| Mark layout | Dimensioned mark and its position relative to the new image | The team needs to see whether the reference fits the proposed material path and camera view. |
| Web direction | Feed direction, printed side, roll width and repeat | The camera must see the mark in its running orientation. |
| Acceptance rule | Measurement points, allowed offset in both directions and inspection method | The trial can be judged against a stated finished-part requirement. |
Winshol’s published CCD model pages do not state a universal minimum mark size or guaranteed numerical registration tolerance. A mark copied from another job still needs to be checked on your material and approved for the proposed camera view.
Check whether the mark can be seen reliably
A mark that looks dark in the artwork may be hard to pick out on the press. Clear or glossy film can reflect light; nearby graphics and an uneven background can also obscure the mark. KEYENCE’s machine-vision lighting guide explains how lighting and viewing angle affect contrast. It is general imaging guidance, not a Winshol setup specification.
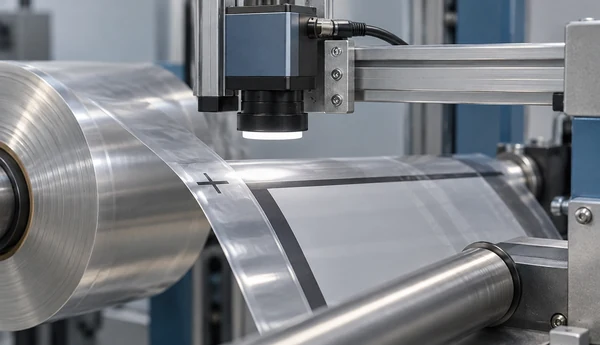
Bring samples that show normal production variation. If the mark changes across a roll or between batches, include examples. Use material that has already passed through any upstream printing or drying step that affects its surface. The trial should show whether the camera finds the intended reference repeatedly. If it does not, review the artwork and imaging arrangement before changing the mark color or size.
If the artwork has no dedicated mark, ask the equipment team to test a specific printed edge or pattern as the reference.
Include material movement in the trial
Film can change dimension between processes or travel differently under the intended feeding and drying conditions. The mark may then shift relative to the area that matters on the finished part. Record the preceding process, the proposed print and drying sequence, and the stage at which alignment will be inspected.
Measure away from the mark as well as near it. If a sample is out of register, note where the offset appears and whether it changes across the web or during the run. Those observations are more useful than a single overall “pass” or “fail” when the team reviews the material path and process sequence.
Run a sample trial with a clear pass/fail rule
Set the pass/fail rule before the press runs, then keep the trial record with the samples.
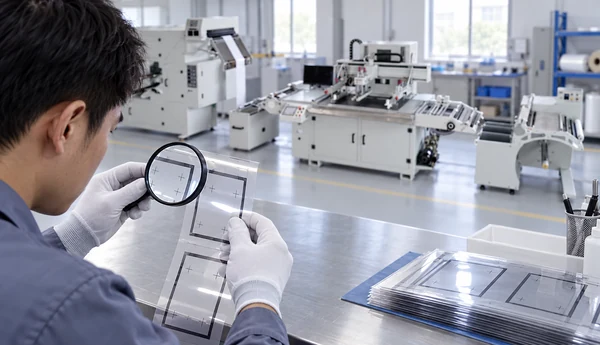
- Supply approved artwork and preprinted stock from the normal process. A specially prepared demonstration sample may be easier to read than production material.
- Record the setup being tested: feed direction, camera reference, ink, drying route and the machine options included in the proposed line.
- Agree on finished-part measurement points, allowable offset in each direction and the inspection method. Give units for every numerical limit.
- Inspect several finished samples from different points in the run. Include critical areas away from the reference mark.
- Keep the printed samples, measurements and setup notes together. Recheck the result if the material or artwork changes.
Use the trial record to decide whether the setup makes acceptable parts from your production stock.
Match the trial to the quoted machine
Winshol lists the WL-5080CCD with CCD visual registration and right-side feeding. The WL-5080CCD-Y has CCD visual registration and left-side unwinding. Both published configurations include a moving screen arrangement and hot-air drying. Check the full material path against your existing line when choosing which setup to trial.
The WL-5080DW uses three-point registration. If you are comparing it with a CCD line, use the same artwork, production material and finished-part acceptance rule for both trials. The published model pages do not support a universal accuracy ranking between the methods.
Copyable artwork and sample brief
Send the following with your trial request. Mark unknown machine settings “to confirm” so the equipment team can review them with the material in hand.
- Describe the material: construction, thickness, width, printed side and surface finish.
- Attach the existing artwork version and samples showing normal variation from the upstream process.
- Identify the layer to be added, print area, ink and intended drying route.
- Dimension the proposed mark or printed feature against the new image.
- Draw the feed direction and repeat length; state whether the web must enter from the left or right.
- Name the inspection points, allowed offset in each direction and measurement method.
- Record the sample batch and the finished stage at which acceptance will be judged.
For a white layer added to preprinted film, show the existing border to be matched and the proposed camera reference on the same drawing. Mark the places where the white layer will be measured. This is an example of the brief, not a tested Winshol result.
The screen printing machine RFQ checklist covers quotation details beyond registration, including output and installation requirements.
Common questions
1. Is there one standard size for a CCD registration mark?
Winshol’s published CCD model pages do not give one. Send a dimensioned mark drawing and production samples; the equipment team can check the proposed camera view and confirm the mark in a trial.
2. Does a registration mark have to be black?
Not necessarily. What matters is whether the camera can find it consistently on the material after upstream printing or drying. Test the proposed color under the intended imaging setup.
3. Can an existing printed feature replace a dedicated mark?
It may work. Identify the exact edge or pattern on the artwork and test it on production samples before treating it as a camera reference.
4. Must marks appear on both sides of the web?
That depends on the artwork, registration method and finished-part requirement. Show the proposed references and inspection points on the drawing, then agree on mark placement for the quoted machine configuration.
5. Will CCD registration correct film shrinkage or stretch?
Finding the mark does not establish that the whole image has kept its original dimensions. Check alignment at critical points after the relevant printing, drying and finishing steps.
6. How many samples are needed for a useful trial?
There is no published universal count. Include normal material variation and inspect several finished pieces from different points in the run. Record how many you checked.
7. What should the acceptance tolerance say?
Give the allowed offset in both feed and cross-feed directions, with units. Name each measurement point and the inspection method. The equipment team should confirm the limit against the tested material and quoted setup in writing.
Send the artwork, production samples and acceptance drawing through Winshol’s contact page for a review of the registration method and machine layout.
